
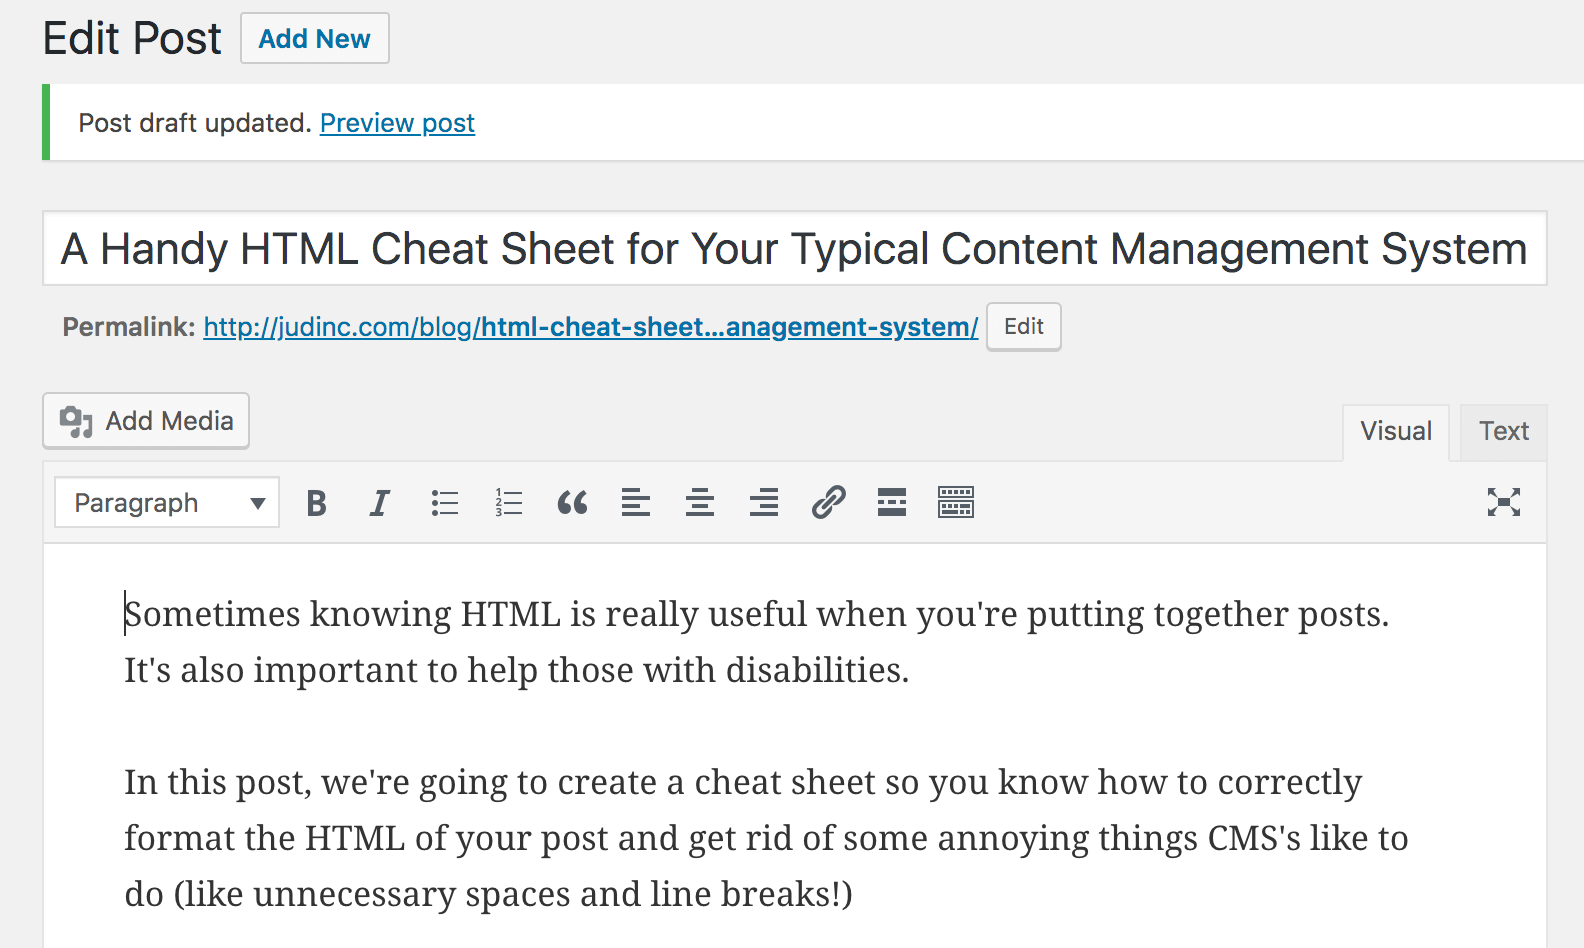
Knowing HTML is really useful when you’re creating blog posts and web pages. It’s the only true way to work out those formatting kinks that nearly all content management systems will throw at you. Additionally, it’s also important to know because it can help you make web content that’s more accessible for people with disabilities.
In this post, we’re going to create a cheat sheet so you know how to correctly format the HTML of your posts and get rid of some annoying things CMSs like to do (like unnecessary spaces and line breaks!).
First, Let’s go over how to view and edit the HTML or post source code
Most content management systems will display a WYSIWYG (what-you-see-is-what-you-get) post or page editor when you begin writing. And for the most part, these WYSIWYG editors work exactly as how you’d want them to do.
You can type words, bold words, italicize words, insert photos and create new paragraphs. However, content management systems tend to sneak in spaces and line breaks or non-semantically correct headings where you don’t want them to.
The way you get them to behave the way you want is to edit your posts and pages in the CMS’s source code editor.
Eeew!
Ah don’t worry, it’s pretty easy to learn.
Editing HTML & Post Source Code In WordPress (Pre-Guttenberg)
Recently, the latest WordPress versions use the Guttenberg editor. We find it annoying, so we installed a plugin called Disable Guttenberg so we can use the original WordPress editing system we’re used to.
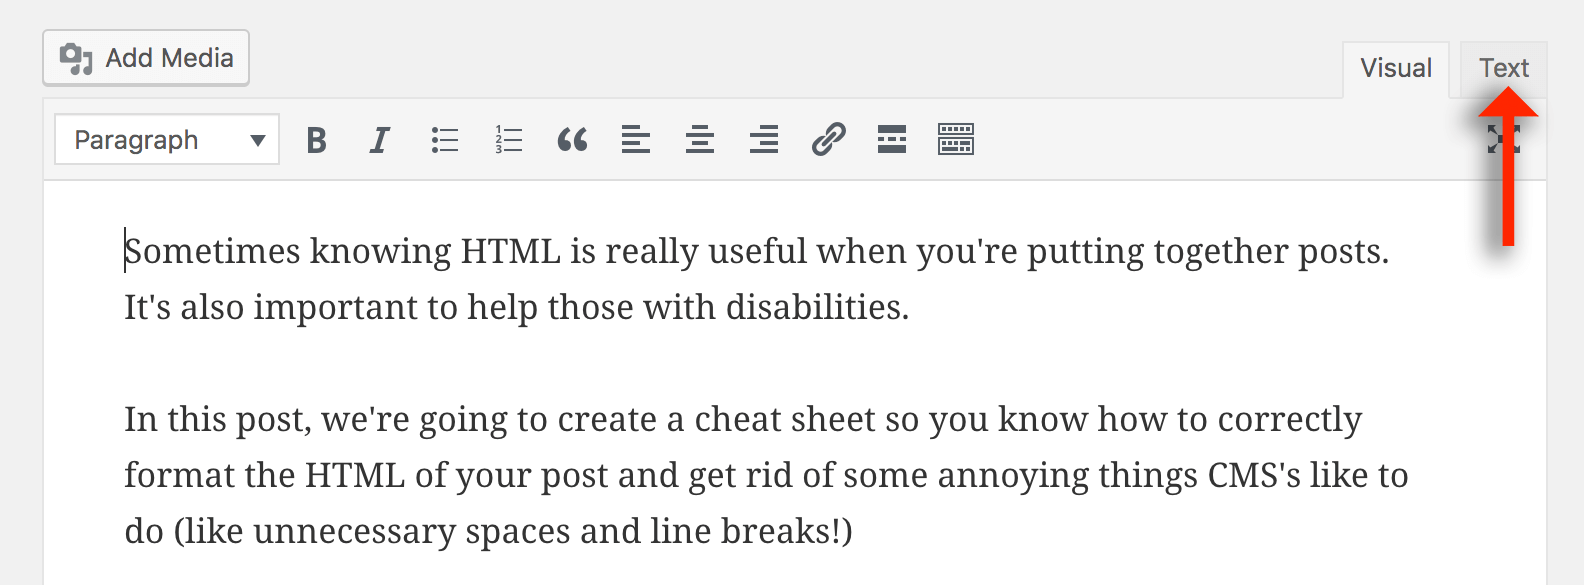
When you’re creating a post or page in WordPress you’ll start off in your “Visual” editor. The Visual editor is WordPress’s WYSIWYG editor.
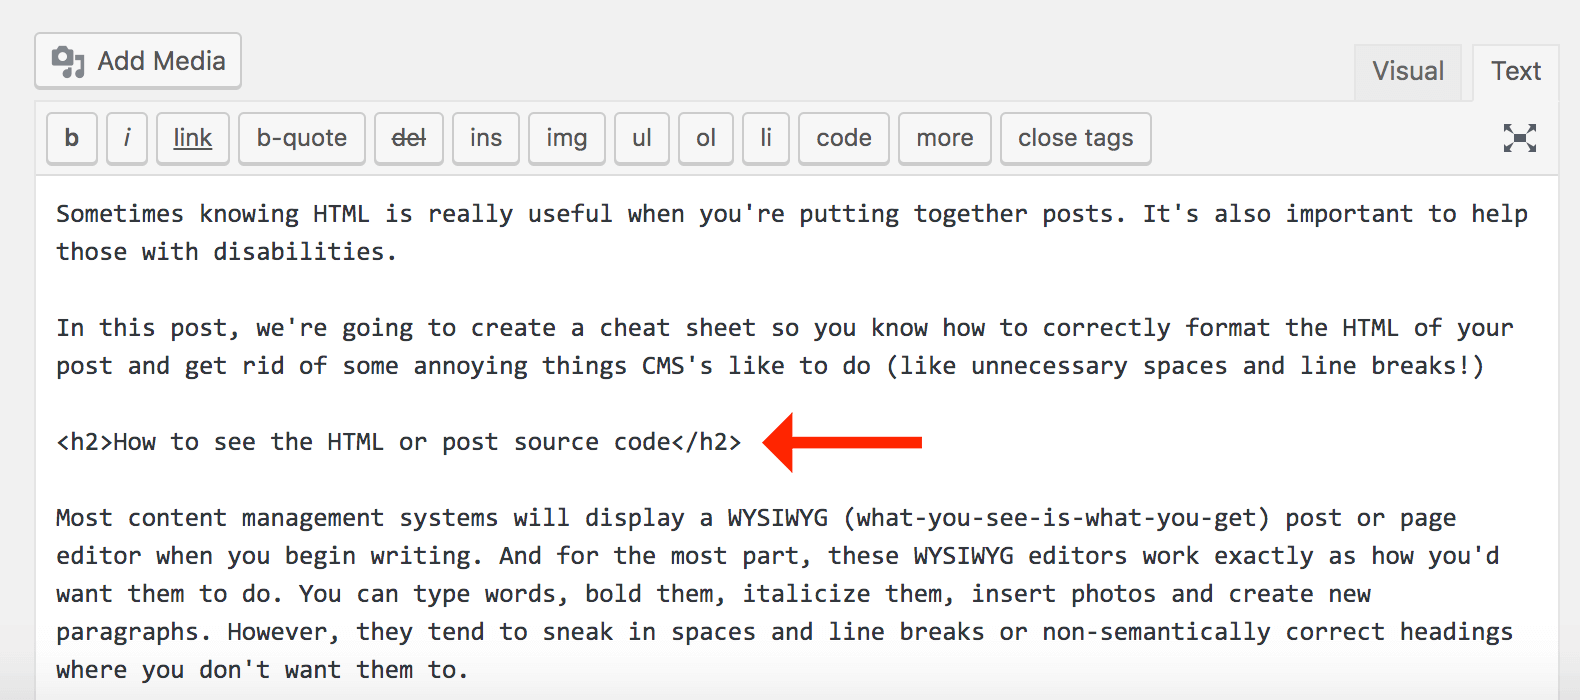
To edit the HTML, click on the “Text” tab:
And as you can see there isn’t that much HTML. Just an H2 heading tag for now:
Editing HTML & Post Source Code In Hubspot
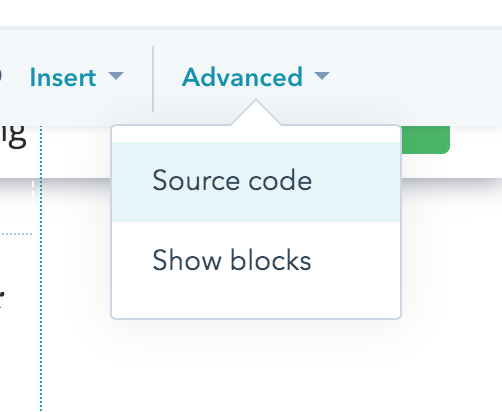
If you’re working on a blog post in Hubspot, look for the “Advanced” link on the right-hand side of the editing toolbar.

..then select “Source code”.
The Source Code Editor will appear and you can make changes to any HTML that you need to.
The HTML Cheat Sheet
Basic Formatting
In each of the HTML tags below, you would place your text in between the opening tag and closing tag. For example, if I were to bold some text it would look like:
<b>here is some bolded text</b>
Bold: <b></b> or <strong></strong>
Italics: <i></i> or <em></em>
Underline: <u></u>
Coloring Text: <font color=”RED”></font>
Highlighting Text: <mark></mark>
Creating a link
If you want to turn some words or text into a link that points to another web page or website, you would use the code:
<a href=””></a>
..where the link or webpage you want to link to goes inside the quotes. The words you want to turn into a link goes in between <a href=””> and </a>.
For example, if you wanted to create a link to Wikipedia.org and make the link text be “The world’s free online encyclopedia”, you would do the following:
<a href=”https://wikipedia.org”>The world’s free online encyclopedia</a>
Images
To display an image you would use the code:
<img src=””>
..and you would put the link to the image location in between the quotes. Like this:
<img src=”https://examplemango.com/mango.jpg”>
It’s always a good idea to include an alt tag with images so disabled visitors and search engines can know what the image is.
<img src=”https://examplemango.com/mango.jpg” alt=”mango” >
Page Headings
Page headings are probably the tags that need the most attention when creating web content. The most important thing to remember is to use them in a logical order.
<h1></h1> – The title of the page. The main page heading. There should only be one of these tags on the page. Now, in most content management systems, you won’t see an H1 in your HTML editor. And that’s a good thing. The H1 is being used for the page title and it’s applied automatically.
<h2></h2> – Subheadings. Use these for main section headings.
<h3></h3> – Sub-subheadings. These are used as headings within sections.
<h4></h4> – Sometimes (but rarely), you need to break down a subsection further..
<h5></h5> – And if you’re going really deep…
HTML You May Want To Remove..
Sometimes you need to remove HTML so that your web page or blog post doesn’t look ugly. The first thing to look out for are spaces:
These guys will sometimes be littered all over your page or post when they shouldn’t be there. You may want to delete them. And sometimes they will be nested inside a paragraph tag:
<p> </p>
When spaces are nested inside a paragraph tag they will create extra line breaks and spacing between your paragraphs. If you see big gaps between paragraphs, this is most likely the culprit.
If it’s not, then check for line breaks:
<br> or <br />
Finally, span tags can really clutter up your HTML and 99% of the time they’re completely useless.
<span></span>
What’s the best way to remove unnecessary HTML?
We suggest using an application called Sublime Text. Copy and paste your HTML into a new Sublime Text file. Save that file as a backup and name the file “backup”. Then create a new Sublime Text file and paste the same HTML code into it. Save that file and name it “edits”. Also, save both files as a .html file so you can see color-coded HTML mark up. It will make the process much easier.
While you’re in your “edits” HTML file, do a find and replace for the HTML code you want to remove. Replace the unnecessary HTML with nothing. Yes. Nothing. You want to replace all the junk with absolutely nothing. Not even a space.
Once your “edits” file is cleaned up, save it. You can then paste everything in your “edits” file into your blog post or page and the resulting post should look a lot cleaner when you go to publish it. If you make a mistake, remember, you have the backup file saved if you need it.
Get Smarter With Your Marketing — In Just 5 Minutes a Month
Join thousands of small business owners getting simple, actionable tactics they can use today to grow their brand.
Share This Post:
Share on social media by clicking one of the buttons below. Use the + button to see more options.